MGB REBUILD INTRO PAGE 2
{short description of image} {short description of image}

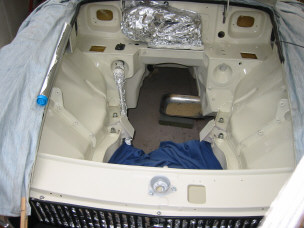
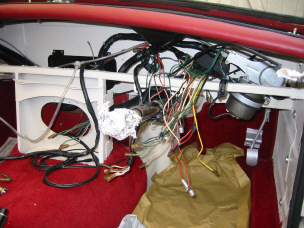
11. Before installing the engine, the bay gets a coat of clear lacquer.

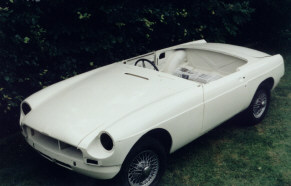
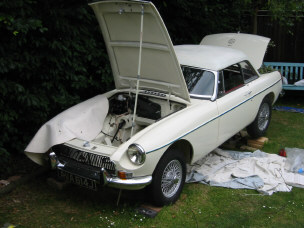
12. Painted shell now rolling.

{short description of image} {short description of image}

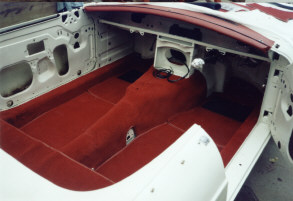
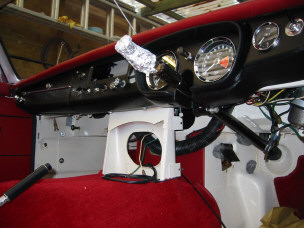
13. New carpet fitted. Another bargain from one of many annual visits to the Stonleigh MG spares day.

14. I bought a pair of red door trims at one spares day, then a roll of matching vinyl the following year, to make all the other trim. The old trim was used as a pattern. The new hard board came with the mild steel sheets bought for the body work.
{short description of image} {short description of image}

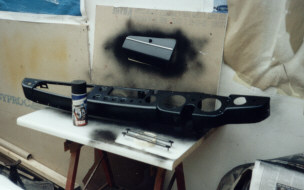
15. Dash board is painted with crinkle finish spray.

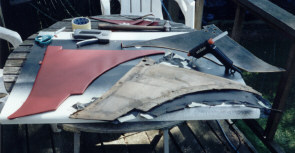
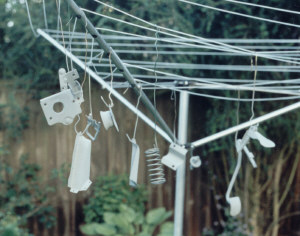
16. One of many sets of small parts get cleaned and painted.

{short description of image} {short description of image}
17. Fitting the wiring loom. I made a new loom from the dash back to the boot using a new set of cable and connectors. The old loom was stretched across the decking / patio and used as a pattern. 18. Dash board re-fitted. The dual oil /water gauge was rebuilt by Speedy Cables. All the other instruments were just cleaned and polished.
{short description of image} {short description of image}
19. New brake disk fitted along with re-conditioned callipers green stuff pads, copper pipes and Goodridge braided hoses. 20. Rear underside view showing HDR exhaust, Spax adjustable shocks, poly bushes and galvanized fuel tank.

 {short description of image} 21. For most of 2003 the MG lived in the garden. This was due to an extension on the house which involved demolition of the garage. I didn't expect to get much done on the MG that year due to the lack of a work shop and a hands on involvement in the extension but as it turned out, partly due to the good weather, it was the most productive year on the car to date.
click here

Link to intro page 1 Link to intro page 3

Copyright 2001-2006