
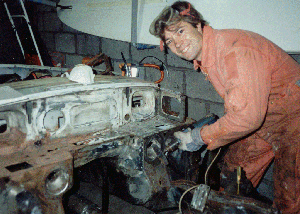
1. I intended to dedicate the first section to stripping the car down but with the following 6 sections taken up with body work and not wishing to put anyone off a great hobby, I decided to give the first section a more positive theme by covering the later stages of the project.
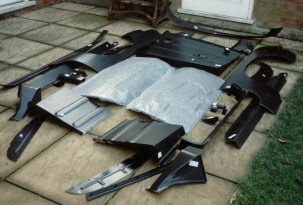
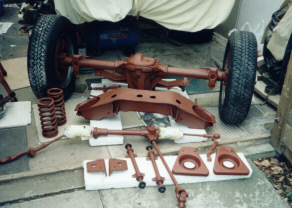
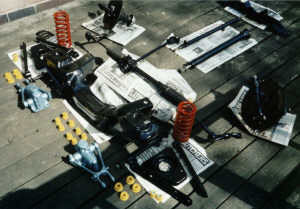
2. As a clue to the extent of the body work this lot is only about 50% of the repair panels bought and fitted. Not to mention two 1m sq sheets of 20g mild steel used to make various bespoke repair panels. It would have been difficult to find a more rotten MGB shell!
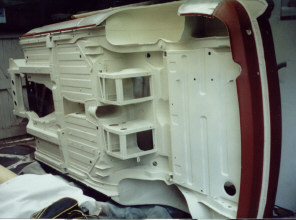
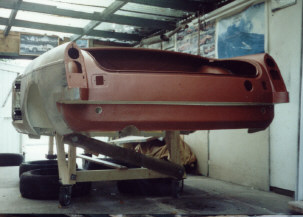
3. Jumping to the painting stage with car on its side. Stone chip paint applied over bonda primer.
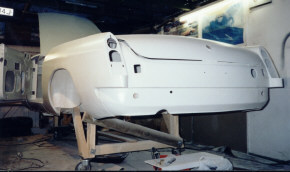
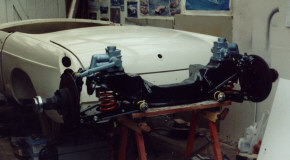
5. I made a wooden support frame complete with heavy duty castors. This gave maximum flexibility to the work shop space during spraying.
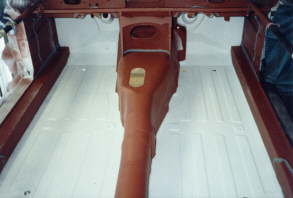
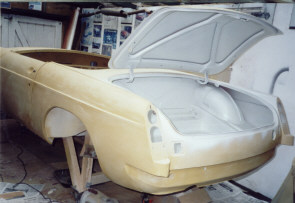
6. Several coats of high build primer followed the Bonda primer. The boot area starts to see some Old English white top coat.


Copyright 2001-2006