
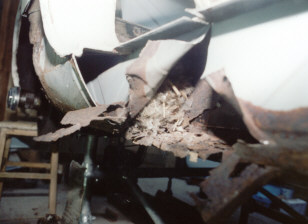
15. The drivers side sill panels were the first job in the new garage. Whilst stripping the old sill panels down an old nest was found. At some time the car was home to possibly field mice?
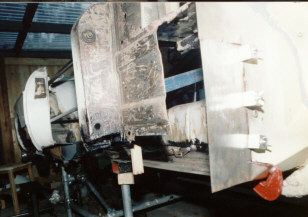
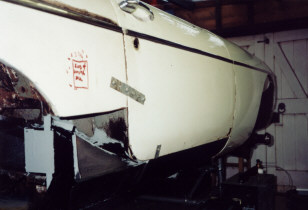
16. In this photo all of the drivers side sill panels have been cut away including most of the inner, inner step sill. A repair panel was also made for the foot well.
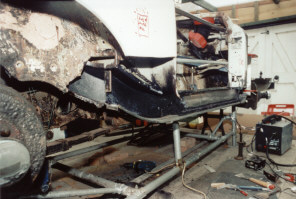
17. The rear section of the step sill was repaired, and treated with rust inhibitor.
The step sill repair panel and adjoining original panel, were then cut at an angle before butt welding together. Note: The passenger side step sill was repaired in the same way.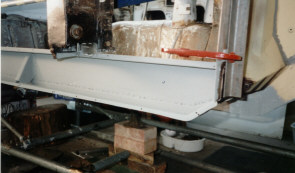
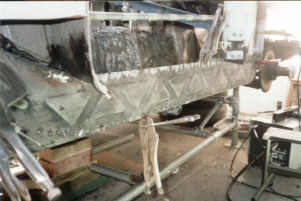
19. New step sill, castle section and jacking point reinforcement panels fitted and zinc primed. Hammerite paint followed.
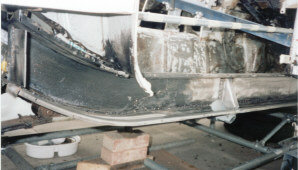
20. Fitting the inner membrane sill. Note: the twin clamp arrangement was used as an arm rest whilst plug welding.
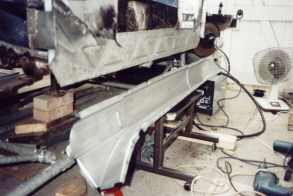
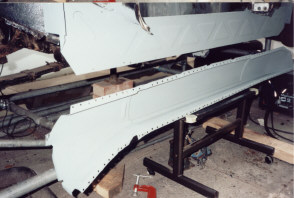
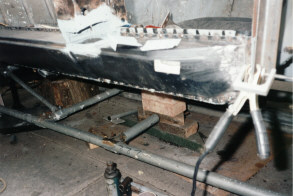
The parts resting on top of the outer sill are repair panels made for the bottom of the "A" post.
Copyright 2001-2006

