
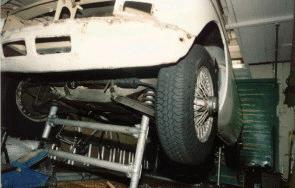
1. The Project re-commences at the new address. The first job was to support the shell on a frame work of galvanized steel tube.
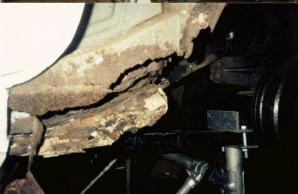
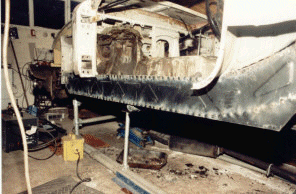
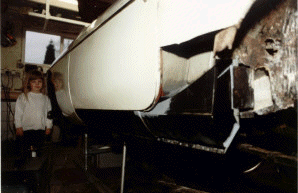
2. After removing the lower section of the rear wing, the condition of the old sill panels can be seen.
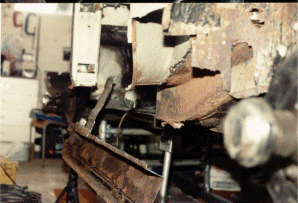
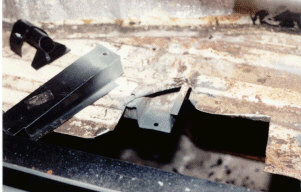
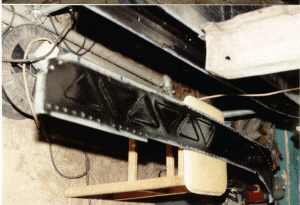
3. After removing the outer and inner sill panels, most of the old inner-inner step sill was also removed.
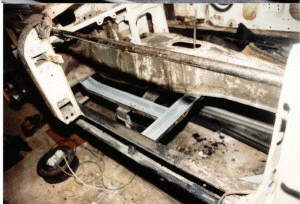
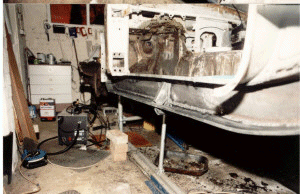
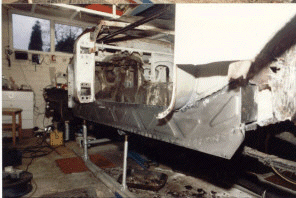
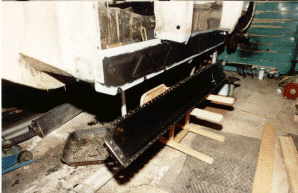
5. With the new inner-inner sill, castle section and cross member repaired the remaining floor was removed. The 25mm steel tube spanning the door gap was fitted to keep the shell in shape.
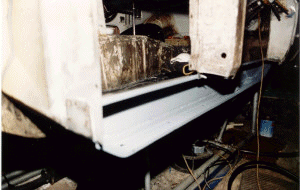
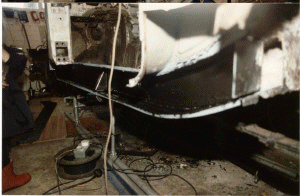
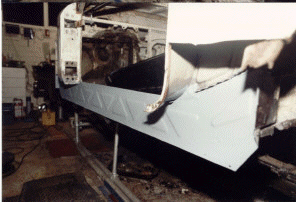
6. The castle section and sill jacking point reinforcing panel welded into place. Supports added to the tube frame helped to maintain the correct alignment and distance between the sill panels during fitting.
Copyright 2001-2006

