MGB Rear wing repair
{short description of image} {short description of image}

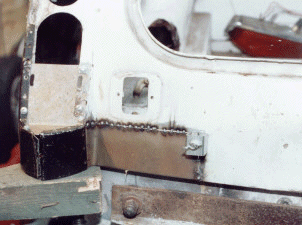
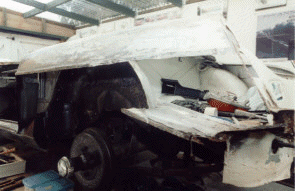
1. Passenger side lower rear wing cut-away.

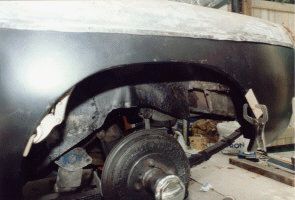
2. New lower wing repair panel temporarily / trial fitted.
{short description of image} {short description of image}

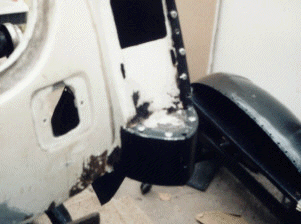
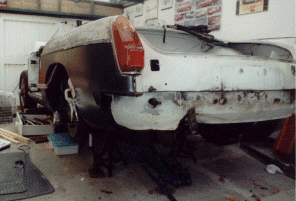
3. Using a combination of clamps and self tappers allowed these panels to be put on and taken off as many times as required prior to welding.
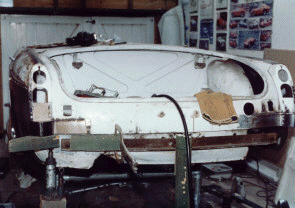
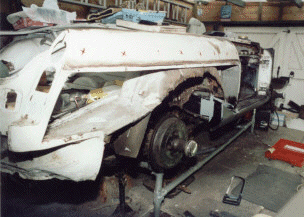
4. The inner section of the rear light mountings were made from a pair of cut down rubber to chrome bumper conversion panels. The repair panel under the reversing light was made from 20g mild steel.
{short description of image} {short description of image}

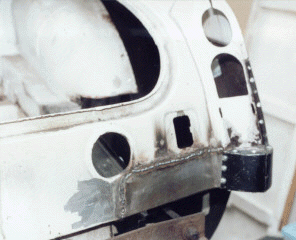
5. The old tow bar plus some wooden blocks were used to help align the rear light mounting panels.

6. The drivers side lower wing cut-away.
{short description of image} {short description of image}
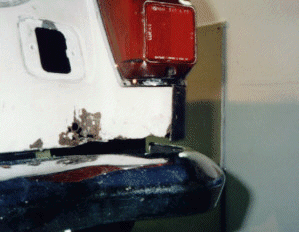
7. This photo shows a before view of one of the rear light mounting areas showing some of the corrosion and layers of filler. 8. New rear light mounting repair panel trial fitted.
{short description of image} {short description of image}
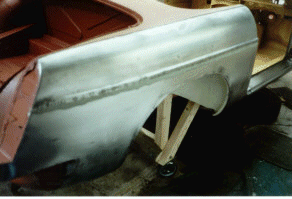
9. The drivers side under reversing light repair. 10. A view of one of the completed rear wings during the painting stage.

One of the most tricky jobs of the whole project was the replacement of the rear wing top seams. Although a super thin stainless steel cutting disk was a big help for removing the old metal.

Link to home page

Copyright 2001