
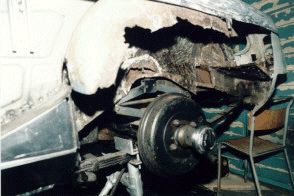
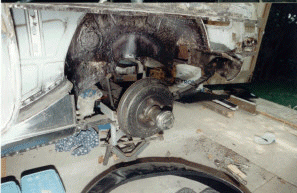
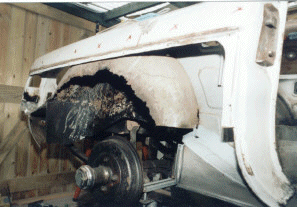
1. With the passenger side lower rear wing cut-away the condition of the outer wheel arch can be seen. I bought many of the repair panels way back at the 92 & 93 MGOC National Events at Knebworth, most parts purchased have been used on the project but in the case of the wheel arches....
2. ...I under estimated the amount of corrosion and only picked up small outer repair sections.
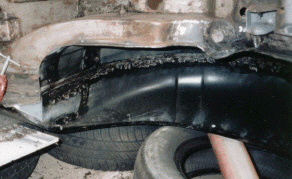
This photo shows the complete outer wheel arch removed.
I carried out most of the repairs to the inner wheel arch before removing the outer panel.
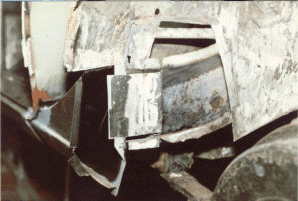
3. I opted to repair the inner wheel arch, although this turned out to be a bigger job than full replacement.
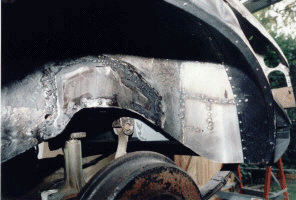
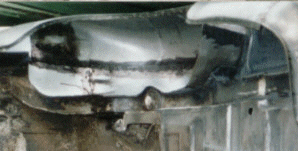
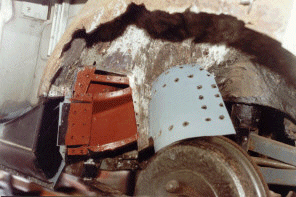
5. Three more of the passenger side inner arch repairs plus the new complete outer panel trial fitted.
6. The last of the welding work was done with the car on its side. Here the repaired inner arch and new outer arch can be seen.
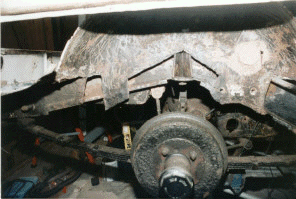
The removal of these old panels mainly involved drilling out the old spot welds using a spot weld cutter / drill bit
Copyright 2001
