MGB Rebuild, floors
{} {}

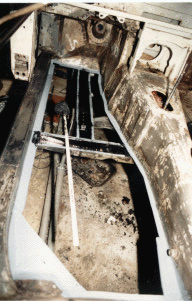
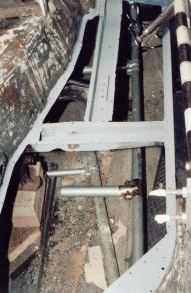
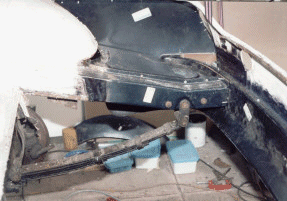
1. Passenger side prepared for new floor. A windsurfing sail batten plus attached cloth is used to paint zinc primer and hammerite inside the chassis rail all the way upto the front crossmember fixings.

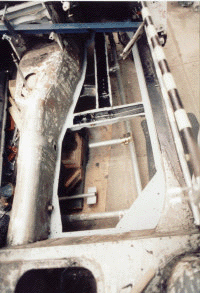
2. Drivers side at the same stage. Some time elapsed between these two photos, the car is in its 3rd garage. Another DIY project!

Building an extra garage was an added delay to the rebuild but it has proved well worth the effort.

{} {}

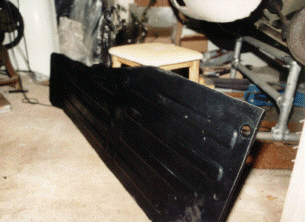
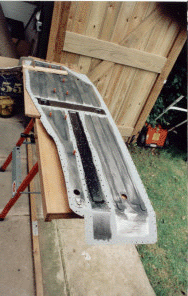
3. The large 90 deg flange that comes with these floor panels was removed. This was done for originality and to aid fitting to the restored mountings.This was removed mainly by hand file along the fold.

4. The floor panel is drilled and hole punched, then painted in the areas that will be enclosed when fitted. To aid welding, the holes for plug welding were made after painting. I also scraped/scratched primer away from around the holes.
{short description of image} {short description of image}

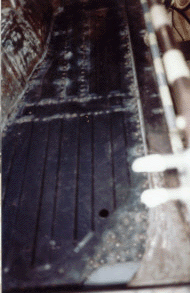
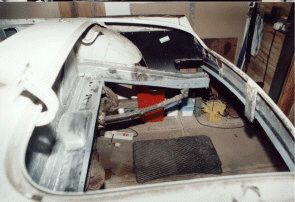
5. The drivers side also required repairs to the crossmember. Tape was added to the temporary support bars to make them more visible.

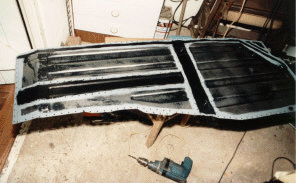
6. The drivers side floor panel prepared for fitting.

{short description of image} {short description of image}
7. Floor panel temporarily fixed in place with self tappers. (The same approach was used for the passenger side). 8. The panel was then plug welded. The plug welds were cleaned up with a combination of angle grinder with flap wheel and power file from Machine Mart.
{short description of image} {short description of image}
9. Boot floor before removal with some of the rear chassis repair panels.
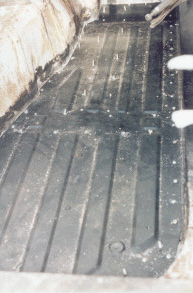
Metal cutting was done with a combination of a drill mounted Jig Saw, Nibbler, Angle grinder and Aviation snips.
10. The lower rear wing, rear chassis and a section of the boot floor cut away. A length of uni-strut holds the free end of the leaf spring in position.
{short description of image} {short description of image}
11. One draw back with the new garage was that the clear roof made it like a sauna in the summer. Even so I would normally wear more protective gear for grinding! (The roof panels have since been replaced with a different material). 12. With the new rear chassis panels fitted, the boot area is prepared for fitting the new floor.
{short description of image} {short description of image}
13. View from underneath. Scissor jacks are used to support the body shell off the rear axle whilst this area is only semi complete. 14. The new lower valance and outer boot floor panels are trial fitted.
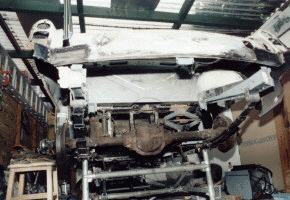
The roof rack straps provide a little extra support at this stage.
{short description of image} 15. The new boot floor, rear chassis and outer boot panels welded in.

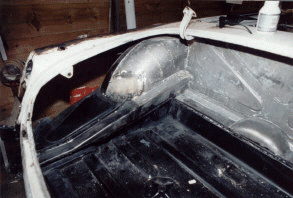
The bottle is rust inhibitor used on the seams after welding.
click here

Link to home page

Copyright 2001