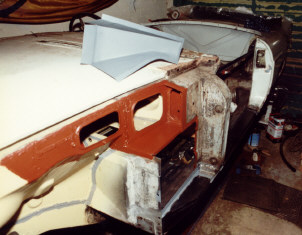
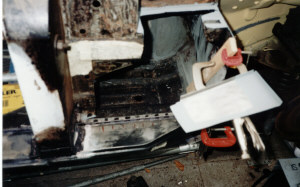
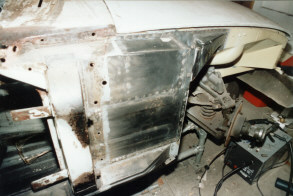
15. Passenger side prepared for the fitting of new inner wing reinforcement and foot well side panels,

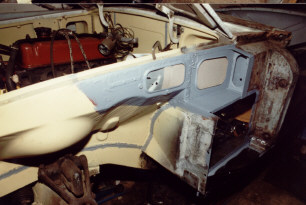
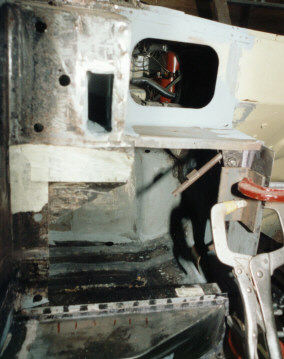
16. View of the same area with a coat of zinc primer applied.  

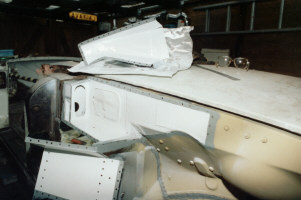
17. The seams are painted with zinc primer, the other semi hidden areas also get a coat or two of white primer followed by white gloss via aerosols.  

18. The new foot well side panel is trimmed and prepared for fitting.

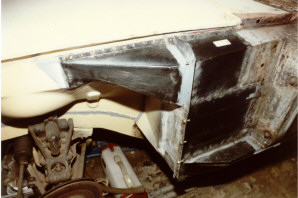
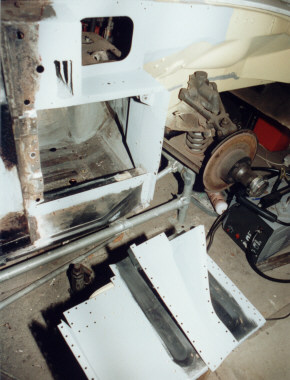
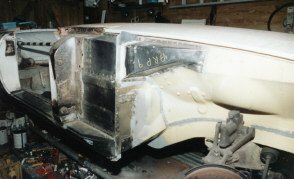
19. Passenger side panels fitted.  

The bonnet is left on to help check panel alignment.

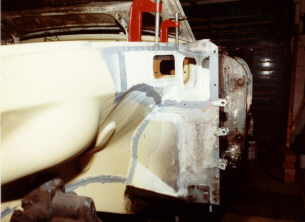
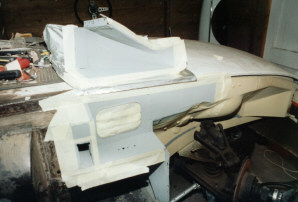
20. Moving to the drivers side, this required the home made repair panel shown on the right. This fits at the top of the foot well and provides the mounting for the accelerator cable.

21. With the accelerator panel fitted, the area is treated with Zinc primer. This was also painted inside the void (top centre) using a cloth attached to a glass fibre sail batten. 22. Repair panels prepared for fitting including holes punched ready for plug welding. At this stage the accelerator panel is drilled using the new cable guide as a template.
23. After applying zinc primer, masking tape was used on the seams prior to further painting.   24. Final stage of preparation for these panels prior to fitting .
25. Panels fitted. 26. This inner wing reinforcing panel required a fair amount of work before it would fit including a new lower mounting flange.
   
   
click here

Link to home page Link to map page

Copyright 2001-2006