{short description of image} {short description of image}

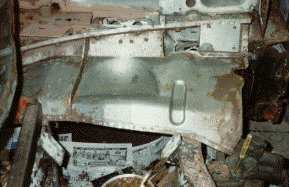
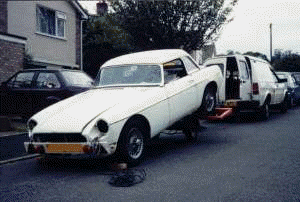
1. Once the decision was made to go down the route of a full strip down and re-build, the first body work project selected was the replacement of the front inner wings. The intention was always to keep the cost as low as possible. With the car so far from being completed, I opted for S/H inner wing panels.

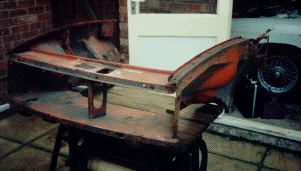
2. Mech-Spec (based in Worksop at the time) let me cut the parts pictured above from a scrap shell of the same period. It was a full afternoon's work with the angle grinder and a good indication of the amount of work to follow. I made the grinder cuts just wide of the spot welded seams to allow for cleaning up later.

{short description of image} {short description of image}

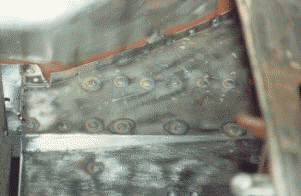
3. The next job was to drill out all the spot welds on both the old wings and replacement ones in preparation for fitting. The drill bit used was a proprietary spot weld removing tool. One of these useful tools came free with an issue of Practical Classics mag.

4. Trial fitting using self tappers and clamps. These replacement parts would need some work to bring them to as new condition but one big plus was that they fitted unbelievably well, even the indents left by many of the old spot welds seemed to line up!
{short description of image} {short description of image}

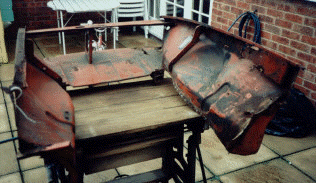
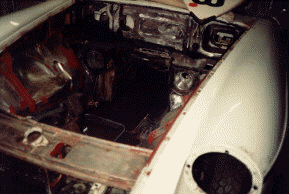
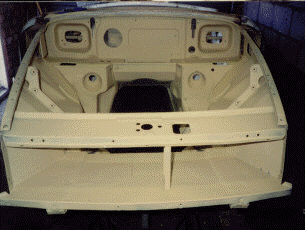
5. These panels are the first of many to get the paint remover treatment.

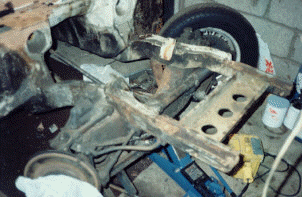
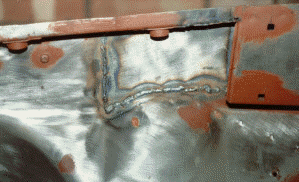
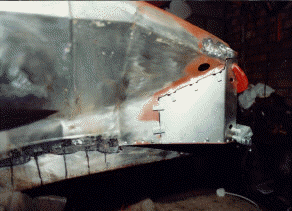
6. One of a number of small repairs using 20g mild steel sheet and a Mig Welder.

{short description of image} {short description of image}
7. Local repairs to the front of the chassis and a new oil cooler mounting panel drilled, punched & painted ready for plug welding. 8. Zinc primer and smooth hammerite applied to parts that will be covered by the new panels.
{short description of image} {short description of image}
9. Oil cooler tray plug welded in place. Note: for originality I marked some of the plug welds for no grinding. This row was probably plug welded on the original build due to limited access for the spot welding arms. 10. Another local repair to the replacement panels. Welding clamps from Frost. These clamps set the correct gap for seam welding. The black liquid running down the chassis is rust inhibitor applied to both sides of the welded seams.
{short description of image} {short description of image}
11. The replacement front inner panels being prepared for etch primer. 12. Outer wings trial fitted. These outer wings were found to be in excellent condition having been replaced shortly before taking the car off the road in 1985.
{short description of image} {short description of image}
13. Etch primer applied to the rebuilt front section. The project then went on hold for approximately three years, this was for a number of reasons including a house move & working overseas. When the whole shell was ready for painting I removed this etch primer in case it had absorbed any moisture. 14. For its move to a new home the car was temporarily put back together, most of the spare parts were loaded into the cockpit and boot. Top tip; when towing a car with wire wheels, best not to go in reverse (as above), the wheel nuts can come loose
click here

Link to home page Link to map page

Copyright 2001-2006